Linux (Ubuntu 20.04+)
How to install Athena on Ubuntu 20+
Linux
Linux installation should be using Ubuntu 20.04+ or greater. The author of this documentation has used Ubuntu 20.04+ without any issues.
Table of Contents
Dependencies
Install or perform all actions in this section. Copy the entire code block and paste it.
GIT
Grab the latest version of GIT.
CURL
Grab the latest version of Curl.
wget
Grab the latest version of wget.
UFW
Grab the latest verson of UFW (Uncomplicated Firewall)
NodeJS 16+ through NVM
Grab at least version 17+ for NodeJS through nvm.
Uninstall Older Versions*
This step only applies if you installed NVM in the past.
Install Latest Version of NVM
Install the NVM script for selecting NodeJS versions.
MongoDB
Keep in mind this is optional if you use MongoDB Atlas for your database. If you are using a local database please install MongoDB server here.
Instructions pulled from here.
libatomic1
Grab the libatomic1 library.
Create a Github Account
Yes you are going to need a Github account. You are also going to need to setup an SSH key for your Github account. It is covered below.
Setup SSH Key
Github has really good SSH Setup Instructions but they may not be entirely clear for newer developers. If you are comfortable with normal documentation give the above link a try. Make sure to select the windows tab.
Create the SSH Key
Enter the following in a terminal:
When you're prompted to "Enter a file in which to save the key," press Enter. This accepts the default file location.
It may ask you for a password. Hitting enter twice will automatically default to no password.
Start ssh-agent
Enter the following in a terminal:
It should respond with 'Agent pid XYZ'
Add the SSH Key
Enter the following in a terminal:
Add the SSH Key to Github
It is highly recommended you follow the Github instructions for the rest of this tutorial. They cover / update how to add SSH keys very well.
Github Instructions for Adding SSH Key to Github
Port Forwarding
At the very least you will need to open port 7788 for your main server.
You may need to Forward Ports in your Server Panel, Router, etc. If you are running Athena on a server it is likely you will need to add 7788 to an additional Firewall somewhere in your server providers panel.
UFW Instructions
Be very careful about doing this because you need to ensure port 22 is setup for UFW.
We're going to do each of these commands one at a time.
You can verify that ports have been opened successfully after you setup the rest of Athena.
Setup Private Repo
Open a Windows Terminal such as command line or powershell. The author personally recommends Windows Terminal from the Microsoft Store.
Enter the following in a terminal:
Create a new private repistory on Github. Let's call it altv-athena-private
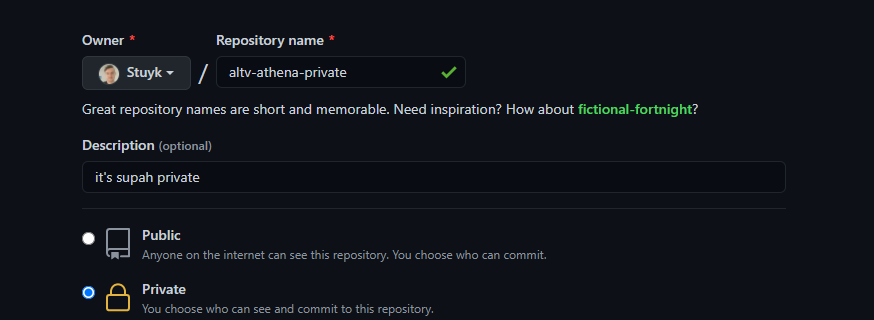
Copy your URL from github.

Enter the following in a terminal:
Then you are going to mirror the bare repository to your private mirror.
Which means you will have a private copy of Athena's code base on your private github.
Enter the following in a terminal:
Delete the bare repository folder you have just created.
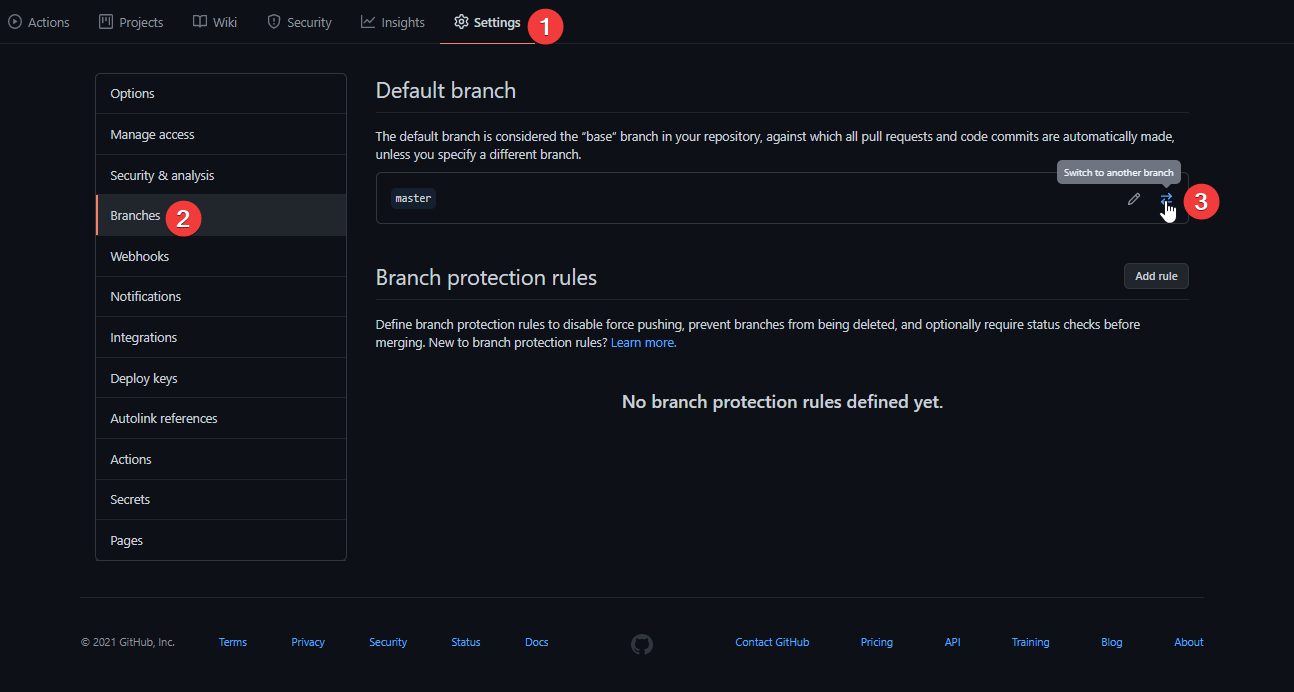
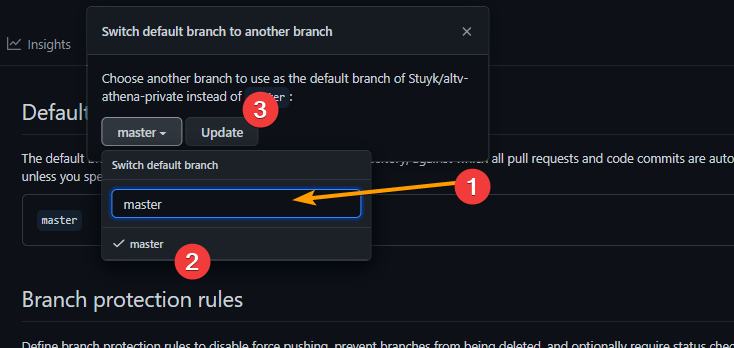
Set Private Repo Main Branch to Master
This is important and DO NOT SKIP THIS STEP.
Download from Private Repo
Clone the new repository you created from Github.
You can find the new repository you created in your Github profile's repository section.
Enter the following in a terminal:
Enter the Directory
You need to navigate into the directory to run the next few commands.
Enter the following in a terminal:
Add Upstream
Add the upstream of the original athena repository.
This step must be done any time you need re-clone your repository.
Pushing updates
When you make changes to the code base you can push it by doing:
Installing Dependencies
This installs all NodeJS packages and dependencies that help run the server.
Installing Server Files
From this point forward you can simply run this npm command to update dependencies.
Starting the Server
Hey Listen, normally you start the server through altv-server.exe but we do not do that with Athena. There are other programs that run along-side Athena that allow it to function. You will need to run one of the commands below.
Update the server.cfg
Do not modify the server.cfg, yes you are reading this correctly.
Instead, you should do the following.
Open 1 of the 3 configuration(s) in the configs folder.
You should see any of the following configurations:
dev.json
devtest.json
prod.json
Edit all of these but remember this very important rule.
Do not change 'host' because 0.0.0.0 is correct.
Production Mode
This is the mode you should use when you are having users connect.
Enter the following in a terminal:
Linux only supports production mode as you should be doing most of your development on Windows based computers.
Checking Ports
Check if the ports are currently open while the server is running. Check port 7788.
Connecting
Remember to get the https://altv.mp/ client and connect.
What IP to use?
If you are running this on your local machine you should connect to 127.0.0.1:7788.
If you are running this on an external server you should connect to the server's IP address.
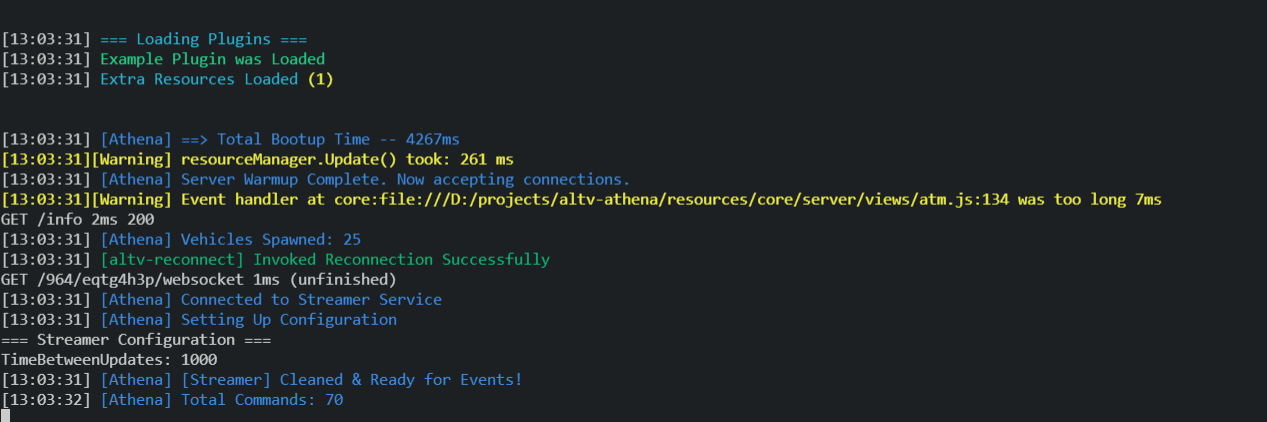
Successful Installation
A successful installation and bootup will look like the following:
Last updated