Introduction
WebViews are a way for you to easily create custom HTML, CSS, and JavaScript based menus. However, Athena has done a lot of the heavy lifting to get you started with the best industry practices. Keep in mind that regular WebViews are not supported anymore and you will need to switch your tooling over to Vue 3 in Athena 3.0.0+. This keeps everything meshed together and ensures compatability with the entire framework.
Athena currently uses Vite which is a way to write Vue 3 based menus and all inside a single page application.
Pros
Performance
Entirely TypeScript
Uses Vue 3
Easy to Access Development Mode
Not React
Builds into a Single Page
Uses 1 WebView for all HTML / CSS Menus
Cons
Learning Curve for Vue 3
Hard to Understand Making a Custom Page
Before Working with Vue
Install this extension in VSCode
https://marketplace.visualstudio.com/items?itemName=octref.vetur
How to Start Development Mode
It's quite easy to start our Vue interfaces in Development mode we only need to run a single command.
You can also run npm run dev which will turn on the vue server in the background while you have your server running.
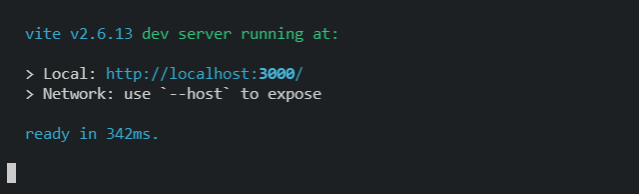
Running this command in the root directory of the project will let you open all pages through this url:
Sometimes the port may be different, pretty unlikely though.
How to Focus on a Page
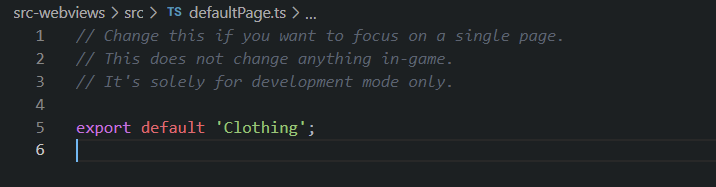
There are currently two ways to navigate to different pages while in development mode. In your browser you can either use the toolbar by hovering on the left side of the browser or you can modify defaultPage.ts and change the Case Sensitive page name in there.
defaultPage.ts Example
Hover Example

Working with Vue
It's best to use the current pages as general examples but head over to the your-first-page section to learn more.
Last updated